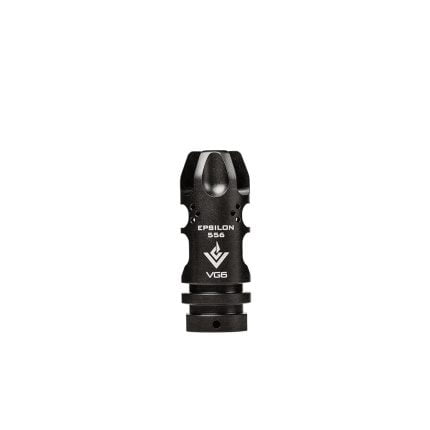
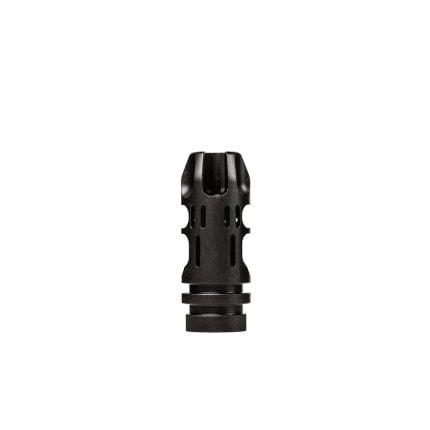
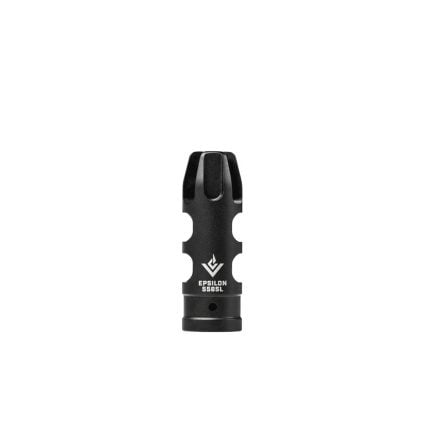
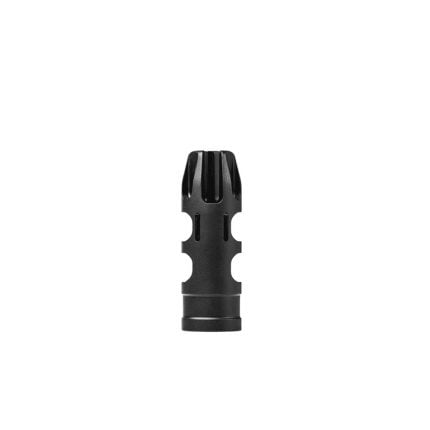
How to install a muzzle device
A simple walkthrough of how to install most AR15 muzzle devices!
*NOTE: This does not include muzzle devices that require the usage of shims, or jam nuts.
Installing muzzle devices on your AR15 is often a simple task if done correctly. Here we will be discussing how to install a muzzle device, as well as some quick tips to help the installation go much smoother!
Securely mount your barreled upper receiver into a vice. This is super important any time you are tightening something down onto your receiver and will give you a solid foundation to torque your muzzle device down.
Next, place a crush washer over your muzzle threads with the smaller side facing the shoulder of the barrel and the wider side facing towards the crown or end of the barrel. Do note that crush washers are single-use, once they have been tightened down on they are “crushed” and cannot be reused to install another muzzle device if you remove or replace the device that you are currently installing.
Hand-thread your muzzle device onto the barrel by turning it clockwise until hand tight. It will likely not be timed (oriented) correctly at first, this is okay as in the next step you will both time and torque down your muzzle device.
Use an appropriate wrench to turn the muzzle device clockwise until your muzzle device is properly timed (oriented). The crush washer will “crush” down as you tighten the device and give you a large range of rotation to help ensure proper timing while maintaining the proper torque!
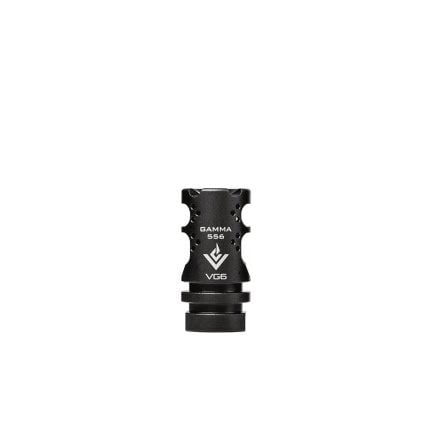
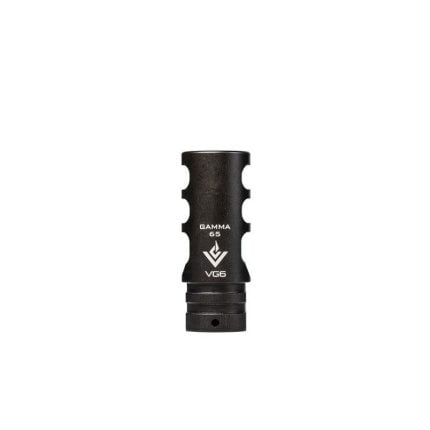
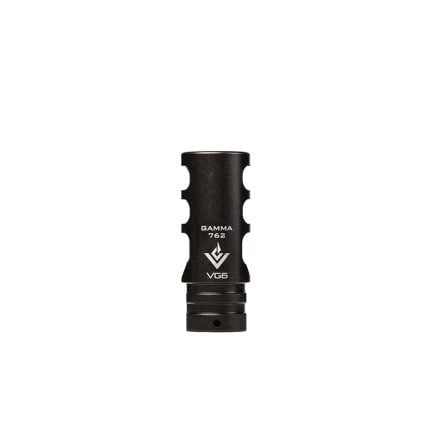
Timing tips: When you are tightening down your muzzle device it is helpful to rotate in small increments as you approach proper timing. It is also helpful to use some sort of visual reference point on your upper (such as a properly aligned gas block) to line up with the 12 o’clock position on your muzzle device. If you are ever unsure where the 12 o’clock position is on the device, consult the manufacturer of your muzzle device. For VG6 muzzle devices, the proper 12 o’clock position is opposite of the laser engraving found on the muzzle device.
